Attaching Your First Script in Godot
In this part of my journey, I explored how to create and attach a GDScript file to a Node2D in Godot. If you’re just getting started like me, this step is where the magic begins—where logic meets scene!
🧱 Starting Setup
Before diving in, I already had a basic scene running. Godot was open, and my project was loaded with a Node2D ready to go. The scene doesn’t need to be fancy—just enough to give us something to work with.
I closed any running test scene to make sure I could attach a script cleanly.
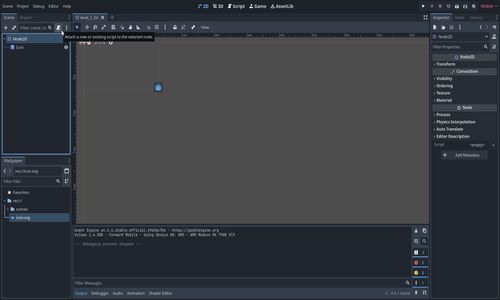
🧩 Attaching a Script
To attach a script in Godot:
- Select the node you want to attach the script to (any node works, really).
- Click the “Attach Script” button (📜 icon or right-click > Attach Script).
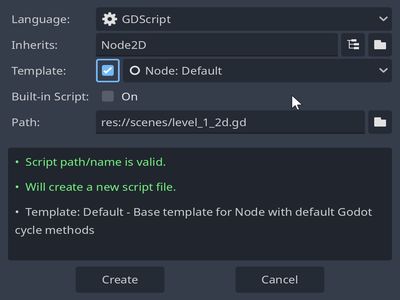
- A dialog appears where you can choose:
- The scripting language (I chose GDScript).
- The template (I left it as “Default Template” for now).
- The path and name of the script file (e.g.
level-1.gd).
I avoided choosing the “built-in script” option. Using an external .gd file makes it easier to reuse scripts later and keeps them loosely coupled to nodes.
I clicked Create, and boom—my first GDScript was born and auto-opened in the script editor.
✍️ What the Script Contains
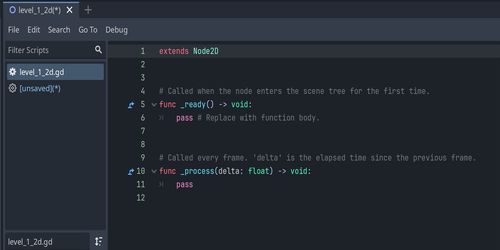
The default script looked like this:
extends Node2D

func _ready():
    pass # Called when the node is added to the scene

func _process(delta):
    pass # Called every frame. Delta is time since last frame
This template includes two important lifecycle functions:
_ready()runs once when the node enters the scene._process(delta)runs every frame and is great for animations, movement, etc.
💾 Saving the Script
One thing I almost missed: new scripts aren’t automatically saved. The tab showed a small dot (•), which means it’s unsaved. I hit Ctrl+S (or Cmd+S on Mac) to save it.
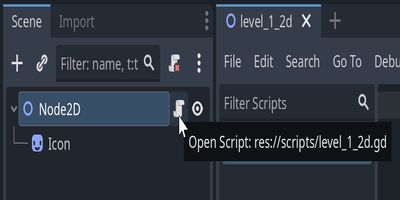
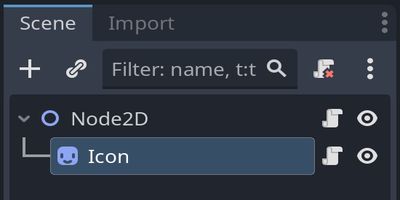
After saving, I could see a clear link between the node and the script: Godot showed the script’s name in the Inspector under the “Script” property.
🧠 Quick Notes
- You can attach scripts to any node—even multiple nodes using the same script.
- The script editor is simple but gets the job done. It’s great for learning.
- As projects grow, you might want to use external editors or IDEs, but for now, sticking with Godot’s built-in editor is totally fine.
- I’ll avoid relying on AI too heavily at this stage—learning the fundamentals by doing matters more.
🔁 Repeating the Process
To add another script to a different node:
- Repeat the same steps.
- Godot will automatically use the node’s name for the script file unless you change it.
- You’ll see a nice visual link in the UI, so you always know which script belongs to which node.
You can also double-click the script name in the Inspector to jump right into the editor and start writing logic.
🏁 Conclusion
Attaching a script might feel small, but it’s the first real interaction between code and the visual side of your game. It’s also the gateway to all your future gameplay logic, interactions, and behaviors.
This was the first time I saw how nodes and scripts connect in a real project. It’s super beginner-friendly and powerful once you get the hang of it.
Next up? I’ll start editing the script to make the node actually do something—probably start with basic movement or interaction.
Stay tuned!
